
One of the hot topics requested through our Facebook page has been ‘recording using a small number of microphones. This is a really easy technique and can be far simpler and effective than putting out every mic you have just because you can. It is especially effective when wanting to achieve that ‘vintage’ sound. Of course, this technique is also good for those that own, only a few mics.
The first thing to be said about this technique is that it relies greatly on the quality of the musician, their instruments and the performance. This is because the fewer the microphones, the less scope you have to edit and tweak individual elements, in terms of timing, pitch and tone. This is an incredibly important thing to remember and to convey to a client when they request to use these types of techniques. Often the idea of recording in this way is alluring to an artist but unfortunately if they can not play their material well, many of the modern fixes for bad playing are not going to help due to the lack of separation in the sound sources. You want to have this discussion before your session and not after tracking!
Secondly the most important aspect of using a small number of microphones is mic selection and placement. When you are tracking with only a few mics it is imperative that you select mics with the right tone. When recording in this way you want to use as little compression and EQ as possible and what you hear during tracking should be as close as possible to the finished product. Once you have a microphone you feel suits your sound source be sure to play around with the position. Even small movements can make a drastic difference to the quality of your recording. Be sure (as always) to make sure the phase relationship (if your not sure what this is google it) of all your mics is good. You need to remember that you have no fall back option with this recording scenario, if you get it wrong you ave no additional mics to help correct things later.
Recently I did a project with a four piece blues band who wanted to recreate the sound of early blues, i.e. Muddy Waters etc. They wanted to play all in room and all in one take. I made sure they understood this meant no (or very little editing) and they assured me they were well rehearsed and understood. This was great because to actually achieve an early blues sound the track needed to be played live. All of those early recordings are one take often recorded straight to acetate or vinyl and the energy of a live recording is very hard to emulate with multi-tracking.
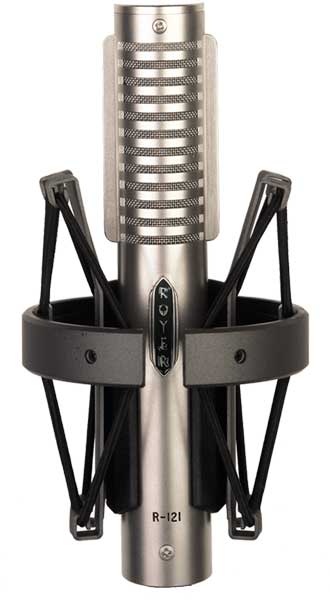
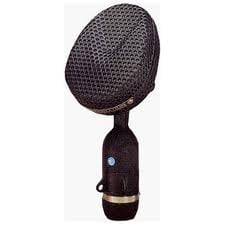
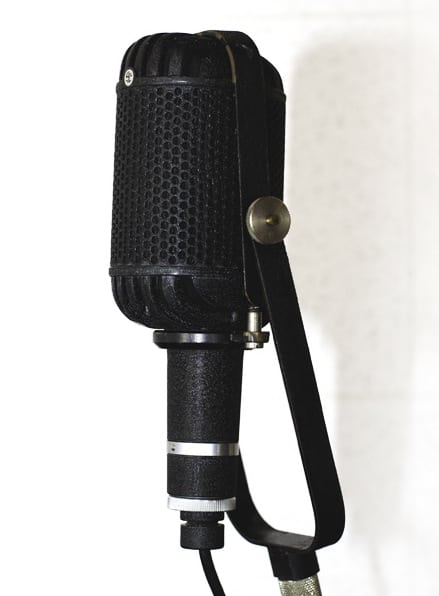
I chose to use mainly ribbon microphones for the recording, the most popular type of microphone for the period, using a Coles 4038 as a mono drum overhead (all early recordings were mono so this lack of stereo spread actually helps it sound older), a Royer 121 copy (made by Carillon and are a great budget option) on the guitar amp and I was lucky enough to have a Coles 4033-A which served as the vocal mic and the room (because of the figure 8 polar pattern of the mic). That was all the ribbons at my disposal so I put dynamics on the bass amp, hi hat/snare and kick drum, and the Wurlitzer was DI’s, although the speakers in the Wurli meant it would feature in the room sound as well. I find for these kind of recordings any modern condensers sound too bright and clear, bringing the sound of the recording to far into the modern day.
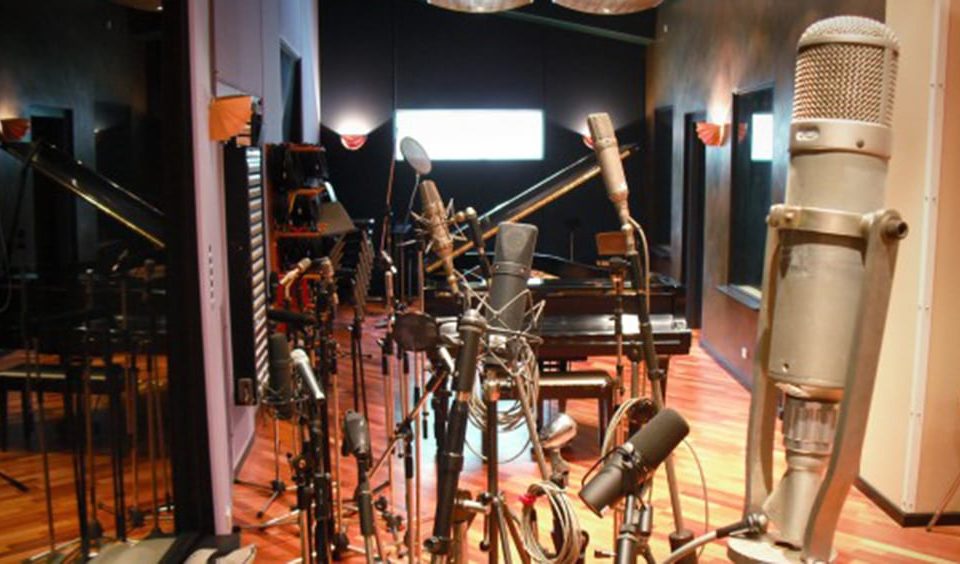
I let the band position themselves in a circle to that they felt comfortable and able to perform their best. This is paramount above any micing consideration. If the band do not play well you will not get a good recording. Once they were set up I turn the bass and guitar amps away from the centre of the room to minimise direct spill.
For the drums I placed my mono overhead directly over the drummers head, playing around till I found the sweet spot for the snare, position my hi hat mic loosely (so it picks up some snare) and placed my kick drum out outside the head directly in line with the drum beater. I also placed a couple of additional mics (pencil condensers) spotting the crash and a position over the top of the ride and floor tom (try and aim the mic right at the edge of the ride) just in case I needed to add a little more detail (FYI I ended up using these on one fo the tracks that needed a slightly more modern sound). I did mic up the snare (SM57) as well (just for safety) but I didn’t end up using it in any of the online mixes.
a band in a circleAlthough I am a fan of making sonic choices and sticking to them, if you think you might need something later it’s better to grab it! Once I had checked all the phase and was happy with the sound it was just a matter of letting the band do the work. The most important element of this particular scenario was the vocal mic. The large amount of spill captured really made the whole mix glue together and gave it that live energy. So make sure if you’re doing this kind of recording that you have a good well placed room mic.
Playing with recording in this way is one of the best parts of being an engineer and everyone has their own special placements and ideas on pulling great sounds (I heard of one engineer mic’ing the drummers feet!) so even if you only have a few basic mics (if you don’t own a mic GO AND BUY ONE!) experiment and have fun!
[Jack Prest is an In-house Producer/Engineer at Studios 301]