A lot of producers I meet are very interested in getting ‘width’ into their mixes, but there’s a common mistake that I frequently encounter in the mixes I’m sent for mastering.
All too often, the producer’s obsession for width sees them dragging ‘stereo widening’ type plugins onto nearly every channel, to… you know… get width right? Wrong.
Nothing can make house music more bland than doing something like this. The foundation of house music is the kick drum, which, for best results, should remain dead centre, and without any image processing applied, certainly nothing below ~350Hz. Then build the rest of your elements upon that.
The problem with widening plugins is that they tend to leave a big hole in the centre image, which is just as important as the sides.
Another problem with image processors, is that they will tend to homogenise any natural stereo content when applied.
Mixing for ‘Stereo’ in its simplest terms, means taking into account how sound affects us as two eared beings, in sonic, psychological and physiological terms. Ultimately, we want to create a sonic picture that provides pleasant stimulation for our brains.
Our brains and ears identify sound in the stereo field through subtle tonal and phase shifts. Widening processors create a ‘fake’ sense of width by modulating the phase in unnatural ways. Controlling these phase shifts also makes a sound less ‘exciting’ to the ear, and ultimately, it will become part of the background, like wallpaper.
Its the visual equivalent of placing a Guassian blur over every object. If everything has this filter applied, then the whole image just becomes a blur.
If you must use these plugins, leaving a few elements in their natural state to juxtapose the blurred background can greatly enhance the focus, or ‘Punch” of the sound.
Placing an image widener on a kick drum will have an adverse effect on what you may be hoping to achieve, so it’s best to leave it out, especially on the important sounds.
In fact using these plugins will create width, but remove all depth and movement, trapping the sound in a thin sounding layer… not unlike these guys:
Help – I’m trapped in a flat box of emotion!
Another Approach
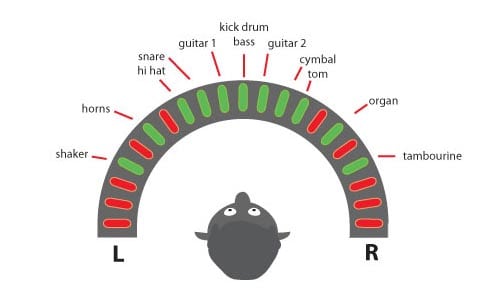
The real secret to getting a much better sense of width, is to actually ditch the image wideners for the old faithful Pan pot. Panning elements in creative ways will give your mix a much more natural, and ultimately wider sense of ‘true width’.
Again going back to how the ear reacts to sound, our ears like sense of movement through tonal and phase shifts. Instead of submitting every bit of percussion, synth and vocal layer into this blurred fake stereo, try panning each element in ways that allow your ears to discover the sounds across the stereo field in musical ways.
For example, supposing you have two percussion lines that are rhythmically syncopated off each other, place one off the left and the other to the right, or maybe at the centre. Then place the closed and open hats slightly apart from eachother. Next, place that big reverbed clap that only happens once every 8 bars way off the right, and perhaps a little loud. It only happens occasionally, but when it does, it creates this shock of harmonic colour off to the right, and keeps the ear tuned in.
You can do the same thing with vocals, placing the lead in the centre and extreme Left/Right, but then add a little bit of random harmonics by placing only one of the vocal harmonies at the 3 o’clock position.
This technique will let your sonic picture sound harmonically richer and a hell of a lot more exciting.
Play around with placing one off sounds in extreme positions, or using a dynamic panner that pans around the field slowly/quickly. Try placing musical lines that are a call & response in different areas. Pretty soon, you’ll find the frequencies ‘dancing’ around the whole stereo field, giving you true width.
To book Steve for your mastering project, contact Lynley on 02 9698 5888 or mastering@studios301.com.
In most mastering situations, stereo mixes are used for the final mastering session. But sometimes I go a little further than that… And the producer or mixer brings in their computer, with their DAW mix sessions, into my mastering studio with them.
The advantage of this from a mixing perspective is that we can play the mixes in the mastering studio speakers and listening environment, where the engineer has the opportunity to listen to the mixes in a very accurate room with pristine converters, amps and speakers. From there, we can get into the project in its entirety to adjust any problematic aspect of the final mix (e.g. individual instrument levels, equalisation and compression). In doing this, we are able to make fine adjustments in the mix, without having any side affects that may occur to the mix by simply using overall mastering eq and compression. Overall, the mix sounds better, the master sounds better as a result, and the producer or artist hasn’t had to pay much more (if any) for a better sounding song.
As an example, in a track I was recently mastering, we had a great sounding kick drum with nice sub energy, but the bass guitar had large amounts of sub frequencies in it as well. Under normal situations in a mastering session, I would simply use a high pass filter or equaliser to tighten this up for a firm rhythm section… But the side effect can sometimes be that in tightening up the bass guitar, we loose the energy in the kick drum. In the situation where we have the mix opened up in the DAW, we can easily go in and make the adjustments to the bass guitar only, without any side effects to the kick drum!
In another instance, the vocal was too bright but the percussion was slightly dull, so we were able to go to the vocal eq in the mix and reduce the high frequencies. This then allowed me to add brightness to the whole track with my beautiful Sontec mastering eq.
And in another situation, we had guitar parts that were recorded using two microphones, but unfortunately one of them was out of phase. This gave us a really weak guitar sound, but having the mix at our fingertips, we were able to go in, find it, and phase flip it – which immediately ended up in a really strong sounding guitar. This is something I simply could not have fixed in mastering a normal stereo mix.
Overall, the common problems I hear when mastering – over compression, clashing eq and phase problems to name a few – can all be fixed much faster and more effectively in the mix, rather than trying to work around it in mastering.
Lastly, the benefits of this process for many mixers/producers have had longer-term benefits. By having the “fixed mix” saved in their DAW, and then referencing it back in their own studio, they have been able to use it as a reference to tweak their own studio monitoring systems for better results.
Here’s what to do If you want to mix in my mastering studio…
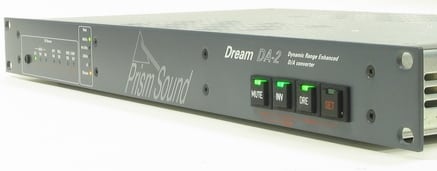
In order for us to do this together, you’ll just have to bring your laptop or tower containing the software and relevant mix projects (but don’t forget your iLok and other dongles!). From there, we hook you into our USB > AES/EBU device that runs straight to my Prism Dream DA convertor… and into my analogue mastering chain from there.
Displays, keyboards, extra peripherals, cables, etc. are all catered for at 301 – so you don’t need to pull your studio apart to make this happen.
How much does it cost?
I charge my usual hourly rate to work this way. Sometimes it works out quicker when you bring in your DAW, because I can quickly fix a problem like above, and then keep on mastering without having to work around mix issues. On the flip side, lack of preparation, or half-baked mixes can cause a blow-out in time – so I strongly recommend that if you are considering working this way, to get your online mix sounding as best as you possibly can – and then I can simply enhance it, rather than having to re-“mix” it with you in my mastering studio.
Finally, none of this is to say that all mixes need these adjustments, or this much intervention, but it’s a great option to have up your sleeve if you are looking for a lower cost way to improve the sound of your mixes (and thus masters.)
All in all, stay confident in your mixing ability, take the mix to the point where you believe it’s at its best and then from there it can only get better…
Steve.
Lynley, our Mastering Coordinator, is happy to talk through this process with you in more detail if you are interested in mix-mastering with Steve Smart. You can reach Lynley on 02 9698 5888 or mastering@studios301.com.
I recently wrote this piece for our friends at Liveschool, but realised its relevant to our audience too.
A wonderful thing about music production these days, is that you can do it without the need for a big studio. But if you’re interested in making bass heavy music, then there’s nothing more important than getting to know your bass better.
One of the main reason people struggle with getting their mixes to sound tight and punchy is because of poor monitoring environments, especially in the bottom end.
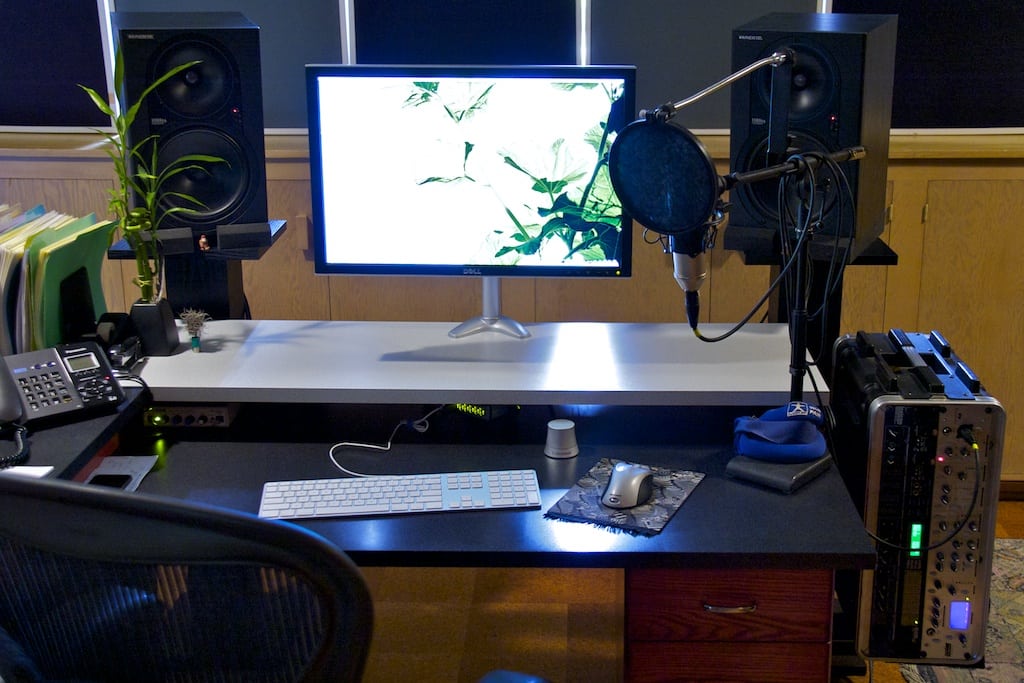
Example of a simple home studio environment.
One way to hear whats down there is to turn it up, and if you don’t have the luxury of an acoustically isolated space, you’re going to piss off your neighbours, girlfriend, parents, etc. Another way to do it would be to fork out on absurdly good headphones or a subwoofer (and again, piss off your….).
But there is cheap and effective solution!
I discovered this years ago by accident but got so used to it, that I still rely on it to this very day.
I used to place my monitors on my desk in a fairly small room; this created all sorts of negative issues, such as causing the table to resonate, and given how close the speakers were to the back wall, the entire room would sometimes resonate at certain frequencies, especially at higher volumes.
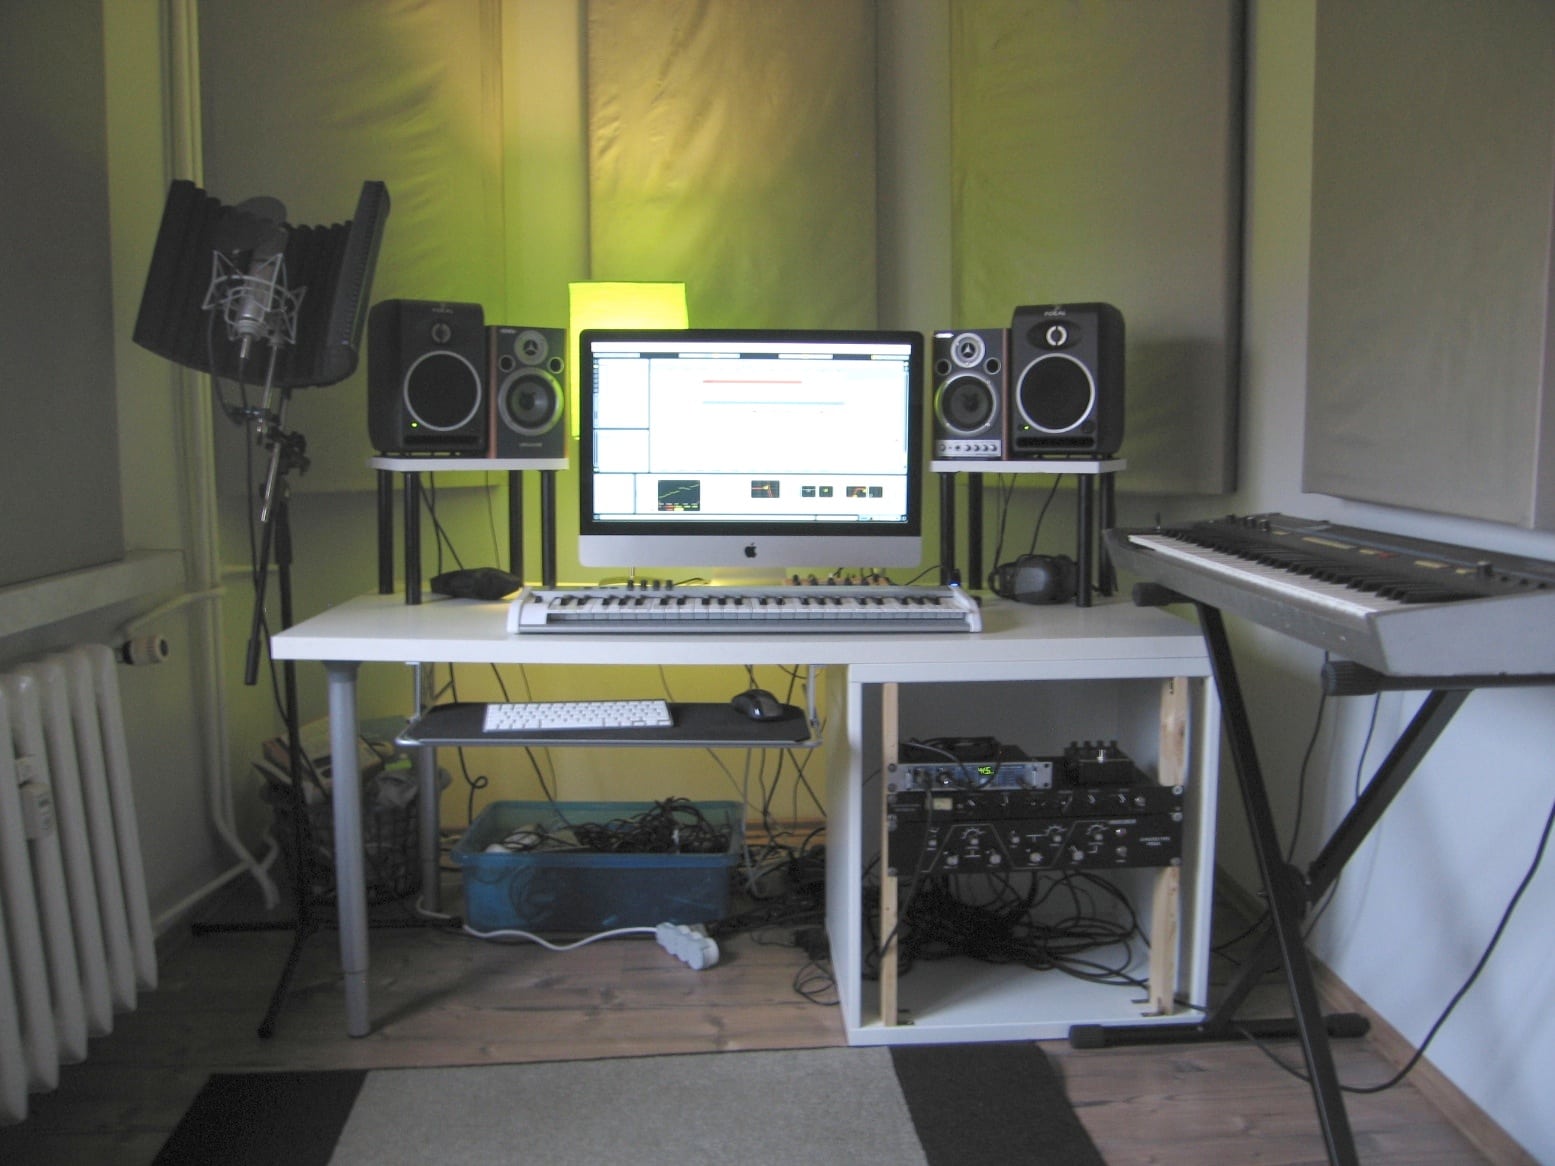
Another example home studio.
But at lower volumes when the room didn’t resonate, I noticed something else. The speakers were sitting directly on the wooden table because I couldn’t even afford any acoustic sponge to sit them on. This in turn caused low-frequencies to vibrate directly through the table. Another way to do it, is to actually touch the speaker cone, ever so carefully. This gives you a very precise sense of any bass movement, but be sure not to apply too much force, or you could damage the drivers!
Through this, I found myself *feeling* the bass. This became especially useful even when they were turned up, because even though I didn’t have a subwoofer, I could feel what was going on below 40Hz.
Another way is to actually look at the woofer. If at a moderate volume, you can visibly see the woofer moving back & forth (~5-15Hz) then you need to hi-pass something.
Feel the bass!
Doing this, I was able to have a sense of how fast the low-end was moving, or feel the separation between the kick and bass. I could also feel just how low the bass went. This in turn affected sound design and mix decisions… and when you get the low-end sounding good, the rest is a lot easier to build.
At first, it takes some getting used to… ie, knowing how much movement is *just right*, but you eventually pick it up, and it never leaves you. In fact you’ll start to be more aware of sub-sonic in clubs and other loud spaces. Lastly, you may have seen this technique in this part of that film “It’s All Gone Pete Tong” – I still use do this today and swear by it.
SSL and Neve are the two most recognised names in professional mixing console history. For decades, engineers and producers have debated which sounds better, which is more versatile, and which delivers the best results. The truth is that both are exceptional, but they are exceptional in different ways.
At Studios 301, our engineers have spent years working on both SSL and Neve consoles across thousands of sessions. Here is how the two flagships actually compare, from the engineers who know them best.
The Sound of SSL
SSL (Solid State Logic) consoles are known for their clarity, precision, and bandwidth. The SSL sound is often described as “clean” or “transparent,” with a wide open frequency response that allows every element of a mix to occupy its own space.
Key characteristics of the SSL sound:
Wide bandwidth. SSL channel strips handle the full frequency spectrum with minimal colouration, giving the engineer a neutral starting point. This makes SSL consoles particularly well suited to mixing, where the goal is to balance many sources without adding unwanted colour.
Defined low end. The bass response on an SSL tends to be tight and controlled rather than warm or rounded. This is an advantage in genres where low-end precision matters, such as pop, hip-hop, and electronic music.
The “SSL edge.” Many engineers describe a subtle brightness or presence in the SSL signal path. It is not harsh, but it adds a sense of definition and forward energy to a mix.
As Studios 301 mastering engineer Leon Zervos notes, the SSL sound is “less coloured” than the Neve, but it has a certain “edge” that gives mixes forward momentum.
The Sound of Neve
Neve consoles are known for their warmth, harmonic richness, and a distinctive “musical” quality that engineers often describe as three-dimensional. Where SSL aims for transparency, Neve adds colour, and many engineers consider that colour to be one of the most desirable sounds in recording.
Key characteristics of the Neve sound:
Fast transient response. Despite the warmth, Neve preamps have a very fast slew rate, meaning they capture transients openly and accurately. Engineer Mitch Kenny, who has worked extensively at Studios 301, points out that this makes Neve preamps particularly effective for tracking, where capturing the detail and energy of a live performance is critical.
Warmth and thickness. The Neve signal path introduces subtle harmonic saturation, particularly in the low mids, which gives recordings a sense of depth and weight. Leon Zervos describes the Neve 88R’s sound as “warm and thick, with a nice element of presence when the EQ is enabled.”
Transformer character. Neve microphone preamps use input transformers, which shape the signal in a way that adds musical complexity. This is a significant factor in the “Neve sound” that engineers and producers value so highly.
How They Compare: Recording vs Mixing
One of the most consistent observations from engineers who have worked extensively on both is that each console has a natural strength:
Neve for recording. The combination of transformer-based preamps, harmonic richness, and fast transient response makes Neve consoles ideal for tracking. Vocals, drums, strings, and acoustic instruments all benefit from the depth and character that the Neve signal path introduces.
SSL for mixing. The SSL’s clean signal path, wide bandwidth, and more forgiving dynamics processing make it an excellent mixing environment. When you are working with 40 or more tracks simultaneously, the SSL’s neutrality allows more to “fit” in the mix without elements fighting for space.
Engineer Jono Baker once ran the same session through both a Neve and an SSL. His conclusion: the SSL preamps sounded “muddier” by comparison for recording, while the Neve preamps were “cleaner, more detailed, and better suited to recordings where the sound needs to be as open as possible.” This was particularly evident on orchestral and acoustic material.
This is why, as producer Ivan Gough once put it, the conventional wisdom is: “Track on Neve, mix on SSL.” It is a generalisation, but it reflects the natural strengths of each platform.
SSL vs Neve: The Engineering Differences
Beyond the subjective listening experience, there are concrete engineering differences between the two console families:
Feature
SSL (e.g. 9000 series)
Neve (e.g. 88 series)
Mic preamp design
Electronically balanced, no transformer
Transformer-coupled input
Signal path character
Clean, transparent
Coloured, harmonically rich
EQ voicing
Precise, surgical
Musical, broad strokes
Dynamics section
VCA-based (punchy, aggressive)
Diode-bridge or VCA (varies by model)
Automation
Intuitive, industry-standard
Sophisticated but complex
Best suited for
Mixing, post-production
Tracking, orchestral recording
It is worth noting that the Neve sound varies significantly across different eras and models. A vintage Neve from the 1970s sounds quite different from a modern Neve 88R, and there have been several models in between with substantially different designs. In the SSL camp, the evolution from E-series to G-series to K-series has been more gradual, with the core SSL character remaining more consistent across generations.
We also asked some friends out there on their thoughts:
“Tracking on a Neve is nice and creative, SSL for mixing. Having spent many years working with Spike Stent on his G-Series with non-linear summing, it’s a revelation!”
Lee Groves, Producer/Mix Engineer
SSL vs Neve in Plugin Form
For many producers and engineers today, the SSL vs Neve question extends beyond hardware. The sonic characteristics of both console families have been meticulously modelled as software plugins, making their sound accessible to anyone working in a DAW.
Notable SSL plugin emulations:
Waves SSL E-Channel and G-Channel (channel strip)
UAD SSL 4000 E and G series
Brainworx bx_console SSL 4000 E and G
Plugin Alliance SSL Native channel strips
Notable Neve plugin emulations:
UAD Neve 1073 Preamp and EQ
Waves Scheps 73 and V-Series
Brainworx bx_console Neve 88RS
Plugin Alliance Lindell Audio 80 Series
These plugins capture the tonal characteristics of their hardware counterparts with impressive accuracy. While the experience of mixing through a physical console involves more than just the signal path (the tactile feedback, the summing behaviour, the room), plugin emulations give producers a reliable way to access the SSL or Neve “flavour” within a digital workflow.
Many professional studios, including Studios 301, use a hybrid approach that combines analog hardware with digital tools. The plugins serve as creative shaping tools in the mix, while analog outboard processing and monitoring chains provide the depth and dimension that hardware delivers.
Whether you are working with hardware or plugins, the goal is the same: finding the tonal character that serves the music. If you would like our engineers to bring that character to your recordings, explore our online mixing service or learn more about what mastering involves.
Which Console Is Right for Your Music: SSL or Neve?
The SSL vs Neve choice is ultimately about what serves the music. Here are some practical guidelines:
Consider SSL or SSL-style processing if:
You are mixing dense, multi-track productions (pop, hip-hop, electronic)
You want a clean, precise foundation that lets every element sit clearly
Your mix needs tight, controlled low end
You prefer to shape the sound surgically with EQ and compression
Consider Neve or Neve-style processing if:
You are recording live instruments (drums, strings, vocals, acoustic guitars)
You want warmth, depth, and harmonic richness in your source recordings
Your production style values character and texture over clinical precision
You are working with sparser arrangements where tonal quality is front and centre
Of course, many records use both. It is common for an album to be tracked through Neve preamps for the warmth and detail they bring to the recording, then mixed on an SSL (or with SSL-modelled processing) for the clarity and headroom the mix stage requires.
Frequently Asked Questions
What is the main difference between SSL and Neve consoles? SSL consoles are known for clarity, precision, and a transparent signal path that is well suited to mixing. Neve consoles are known for warmth, harmonic richness, and transformer-coloured preamps that excel at recording. Many engineers describe the difference as “clean vs coloured.”
Which is better for recording vocals, SSL or Neve? Most engineers prefer Neve preamps for vocal recording because of the warmth and harmonic character they add. The transformer-coupled input stage gives vocals a sense of depth and presence that many listeners find immediately appealing. That said, some engineers prefer the clarity of an SSL preamp for certain vocal styles.
Can I get the SSL or Neve sound with plugins? Yes. Both SSL and Neve channel strips have been modelled as high-quality plugins by companies including Universal Audio, Waves, Brainworx, and Plugin Alliance. While plugins do not replicate the full experience of mixing on a physical console, they capture the tonal characteristics with impressive accuracy.
Is SSL or Neve better for mixing? SSL consoles have been the industry standard for mixing for decades. Their clean signal path, wide bandwidth, and punchy VCA compression make them ideal for balancing complex mixes. Neve consoles can also be used for mixing, but their stronger tonal character means the engineer needs to account for the colour the console introduces.
Why are SSL and Neve consoles so expensive? Large-format analog consoles represent decades of engineering refinement, use premium components, and are built to professional broadcast and studio standards. A new SSL or Neve console can cost hundreds of thousands of dollars, which is why they are found primarily in major commercial studios and why plugin emulations have become such a popular alternative.
Work with Studios 301
Whether you are looking for professional online mastering with engineers like Leon Zervos and Steve Smart, online mixing, or want to discuss a recording session at our Surry Hills studio, our team brings decades of experience across every genre and format.
This is one of my favourite distortion units and its amazingly cheap (get it here http://www.dadalife.com/sausage-fattener-plugin/). It’s great for creating super gnarly crunched up distortions, but one of my favourite things to do with this plug-in is to use it on the master bus, or even in mastering itself.
If you have a mix that is overall a little bit dull, stick this little bad boy over the stereo mix leaving the Colour at 0 – then bring the Fatness up to between 1-4%. This will had some extra harmonic content giving your track life without noticeably changing the tone of your mix.
Something to be aware of – the gain indicator is actually for the INPUT Signal level into the plug-in. If it’s going red, it means you are digitally distorting the plug-in’s input, which is (generally) a bad idea, so back it off till it’s not clipping.
Jack Prest is an Inhouse Producer/Engineer at Studios 301.