
To book Steve Smart for your mastering project, click here or contact Lynley on 02 9698 5888 or mastering@studios301.com
This is the third of a three part series:
- From the Desk of Steve Smart: Mastering for Vinyl – Part 1
- From the Desk of Steve Smart: Mastering for Vinyl – Part 2
- From the Desk of Steve Smart: Mastering for Vinyl – Part 3
Going back to your time as a vinyl cutting engineer, what was the day-to-day process?
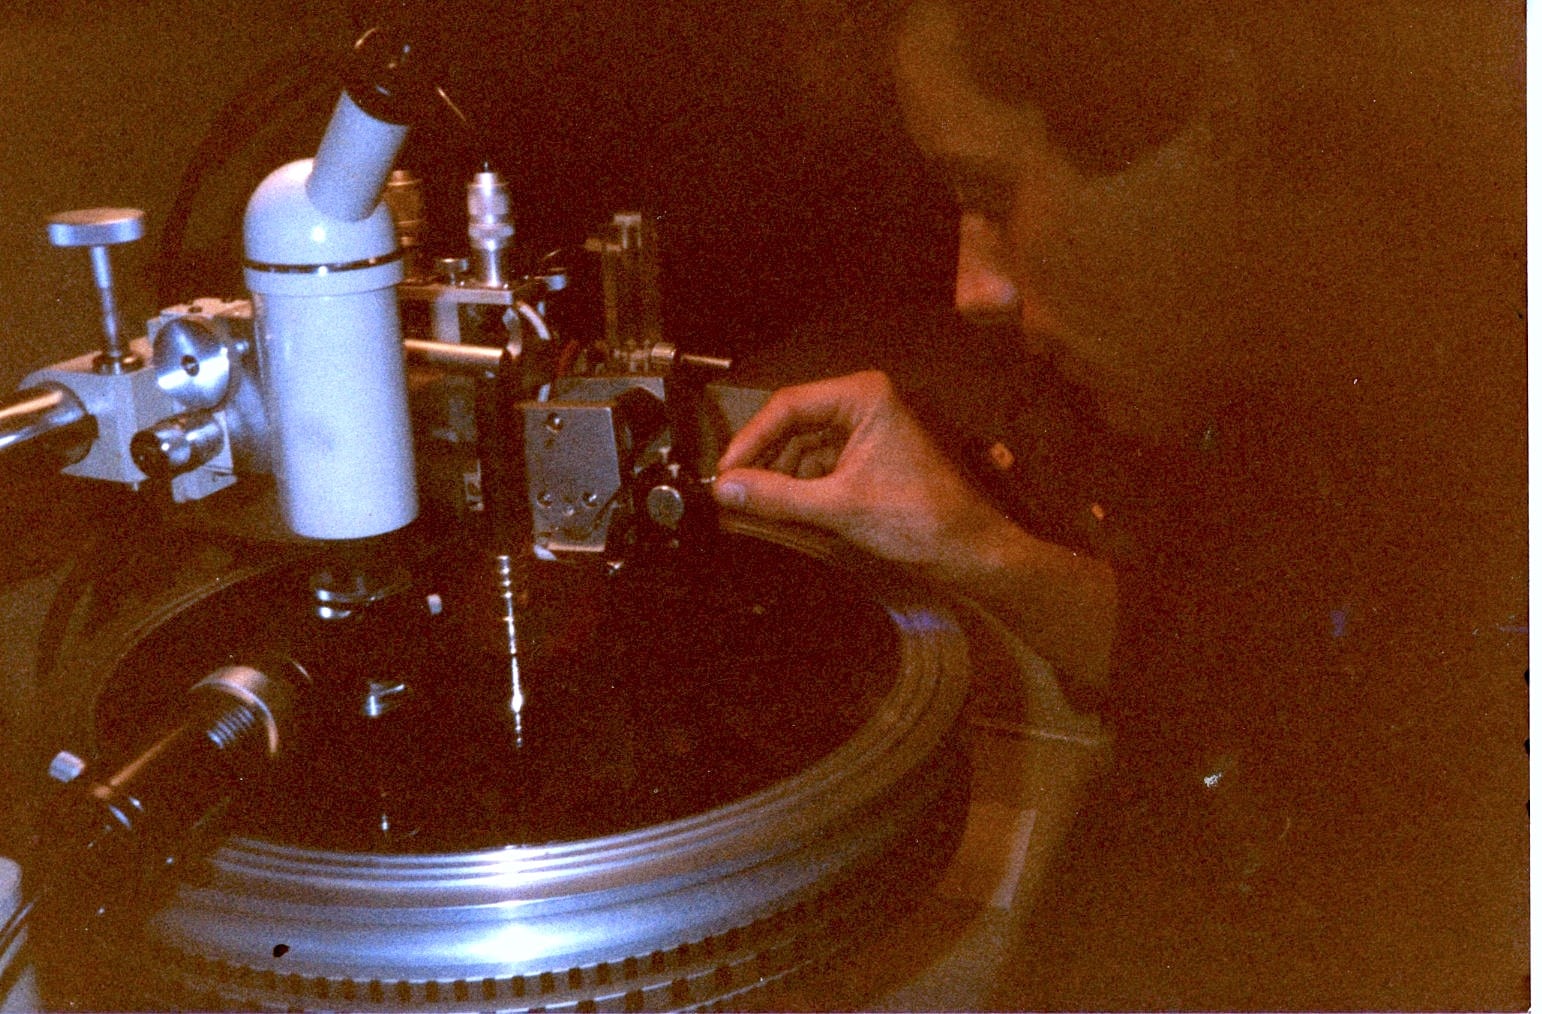
First of all, when the engineer finished mixing, either they or the assistant would put together the many different takes of the mixes onto two reels of tape – for side 1 and side 2 of the LP. They put the gaps the way they wanted them, but there would be discrepancies between the individual tracks – the volume level and the individual sound/tone – which affected the continuity of the album. And that’s where the first mastering engineer truly was a master engineer. He would get the master tape, play the reel through, make some notes, set-up some equalisers and compressors for each individual track and then, with those settings in mind, and in real time, transfer or cut that tape on to a disc by means of a cutting lathe.
Would you change the settings on the mastering gear between songs or would you do a quick patch to other units?
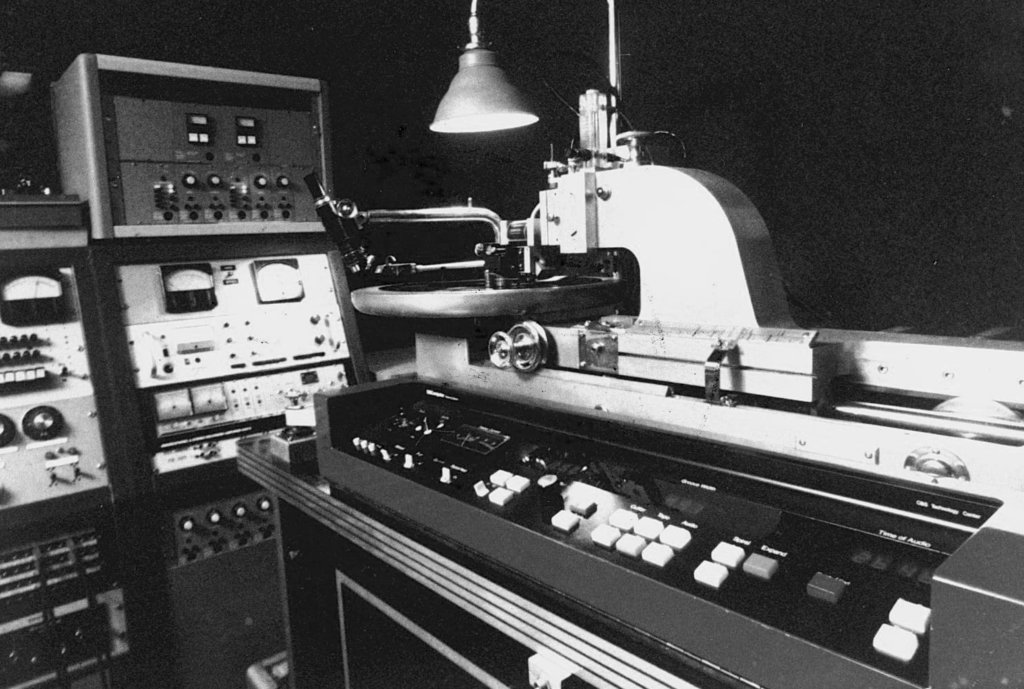
Well, we had the luxury of four equalizers, where two equalizers were used for the operation of each song. One equalizer being for the music that went to the cutter head, the other equaliser being for the music that went to the brains of the lathe. This “brain” was called the preview, because the lathe had to mechanically know what was coming up at the same time as what was going into the groove itself.
So there was one bank of EQ (two units) for one song, and while that song was actually cutting, you’d set up the second bank of EQs. During the crossfade or the gap between songs, you’d simply crossfade between one batch of EQs to the other. Then, while that next song was travelling along, you’d set up the next bank of EQs for the song following.
It was very attention grabbing. You had to set up your EQs and your compressors and you had to also drive the lathe at the same time. Fortunately, everything was on remote control to the central desks so you could keep it all within hand-grabbing distance. But it was quite fast and furious and if anything went horribly wrong, that whole cut just simply went in the bin – it was ruined.

What would be the success rate for cuts generally?
Well, a good cutting engineer knew exactly what to do – he could play a tape, knew what potential problems may be laying in the music itself, and note the corrections that had to be made. Let’s just say if there was a ballad followed by a big rock track, a cutting engineer would guesstimate how much real estate would be consumed by the various amounts of “energy” in each song. The ballad would take up less room, the rock track requiring a lot more, so you’d plan your consumption of the side of the record to accommodate. If you had, say, 25 minutes per side, you could get away with cutting that at -2dB, or -1dB if you are lucky, depending on what sort of music it was.
But you also did little test cuts of each track just to make sure that it translated to the actual lacquer and played back as you intended, because it was also the slight change of the physical playback of the groove itself that influenced it greatly.
How does the audio content affect the grooves on a record?
If it’s a mono signal, the groove remains at the same depth, but moves from side to side, known as a lateral excursion. If it’s in stereo, and the content of that groove exceeds a certain degree of phase, the groove depth (known as vertical excursion) can change anywhere between 10 to 50 microns. It’s always noted that in record cutting, a groove is half as deep as it appears wide (by physical design). So when you’ve got stereo information in low frequency content, you don’t really have a lot of depth to play with before you actually end up with a groove that’s so small, that it’s smaller than the point of the playback stylus on the turntable. So, that stylus will want to force itself towards the centre of the groove.
Conversely, if you’ve got a groove that’s too deep, then when in the cutting process, it can actually cut so deep that it can go into the aluminium substrate of the lacquer itself. That will completely sever the tip of the ruby stylus, which is very costly.
Essentially, the thing that dictates the depth/width of the groove is the amount of time that the music runs for, versus the song volume levels that you wanted to cut the record at.
Is there anything to bear in mind with the high frequencies when cutting?
It’s interesting because I think it begins when you are recording an actual track itself. If you recorded a kick drum onto a tape machine at excessive level, it would start to overload, distort and bleed into the other tracks on the multi track tape. Also, there was a very strict level of what you could record a hi-hat at. The medium of tape itself dictated at what level you could record. Interestingly, by the time you push the mix up, you generally find that those things were all in context. Things were, I guess, forced to be where they were.
If the mixing engineer or producer decided that he just wanted the hi-hat a little bit brighter or louder on the day, it was then up to the cutting engineer to decide whether he could get away with that or not. If the high frequencies were too excessive when cut to the lacquer, it would saturate and distort when played back. Also, high frequency grooves on lacquers are very jagged and would physically tear when you separated the metal from the lacquer (during the subsequent plating process).
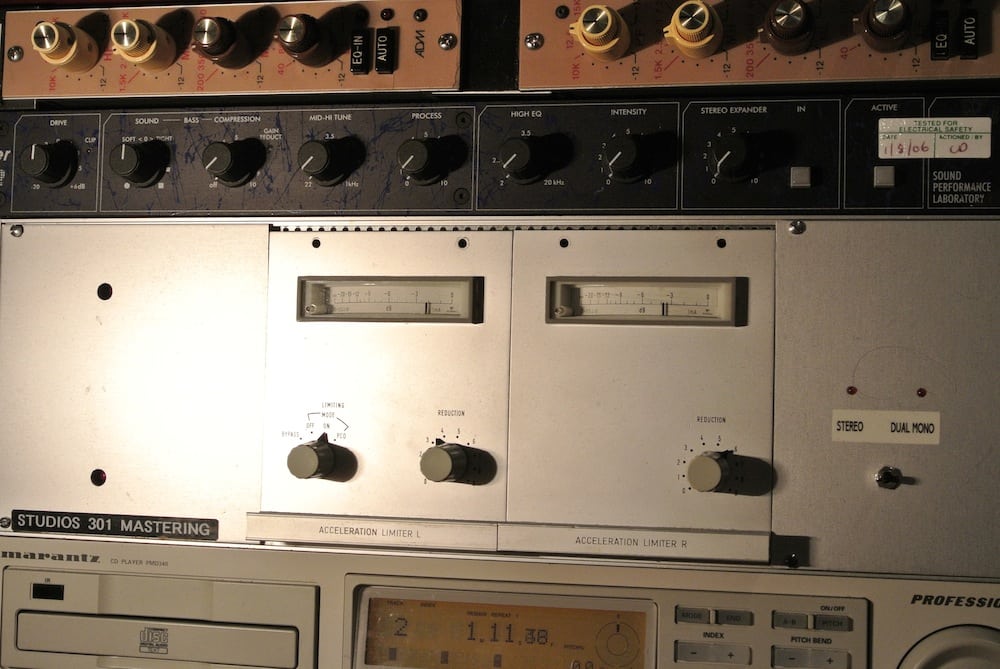
So you had to, through experience, make an educated assumption of how much you can get away with. On some lathes, particularly the one that I’ve used and (I’ve still got a piece of the equipment from it), there were high frequency limiters installed for the sole purpose of protecting the cutting amps and the cutter head from overloading on high frequency. This is because the high frequencies demand the most amount of electric current from a cutter head. It has to generate – it has to resonate – that stylus at an incredibly high rate for it to carve that high frequency signal into the lacquer.
But, you know, the art of a good cutting engineer was just how much you could get away with.
What other roles were involved in the process?
There was a whole team of people and excellent manufacturing facilities required. I mean you had to have great quality lacquers, a great cutting lathe, a plating department…. And top quality silver, top quality nickel, and great quality vinyl to press records from…. Plus all of the fitters and turners that looked after the pressers and fed the steam lines. If everybody got it right, that whole company could produce a really high quality record. And there were companies, for example, like Deutsche Grammophon who used to be just be renowned for cutting fantastic classical records. They used to have it down pat, you know, they just really knew their stuff. It became an art form and engineers / producers who mixed records sought out specific cutting engineers, because they knew that they could get a really, really good sounding result on to the record at a really good level.
Part of the level thing was in order to cheat the surface noise, which was the biggest drawback of vinyl. It was that increasing surface noise each time you plated it, it just got louder and louder. And each time the dog sat near the record collection, you know, it just got dirtier and dirtier.
What about the vinyl wearing out?
The vinyl wearing over continual playing is an issue, as is the static dust that accumulates on a piece of black plastic like vinyl. They just got worse and worse over time and so, you know, major record companies used to make a killing out of just repressing. I think while I was working at CBS, I had to cut Bat Out of Hell by Meat Loaf more times than I’d care to remember!
People kept buying it because it kept wearing out?
Well, it kept selling and it also kept wearing out and, you know, you can only get so many records pressed off the metal stampers (that pressed the vinyl) before they physically wear out. They just get blunt, you might say, and the cut sounds distorted and noisy.
You know, with all that said that vinyl records are great, they’re possibly one of the most environmentally unfriendly music carriages of all time. They are a petroleum based extract. The waste products that come from manufacturing a vinyl record are insurmountable. Getting rid of a bad bath of nickel and silver isn’t cheap these days. Apart from that, they’re hardly portable and they’re noisy and obtaining a vinyl cutting lathe, obtaining the nickel and the silver and the processing that goes with it, the presses, it’s no easy avenue to get into. It’s quite expensive accumulating all of that sort of equipment and putting it all back together and having enough work to – supplied to you – to meet your demands.
Once you’ve mastered something for vinyl, what is the process to actually get it onto vinyl?
In our vinyl mastering process, we aim to have the clients totally happy with the sound of that song, and possibly with some information garnished from us, go to a reputable vinyl cutting house.
Once the master leaves 301, the complete process of vinyl pressing is a series of stages. When something is mastered at 301, we supply the file, and the vinyl cutting engineer then uses a digital workstation to play that file back. He can simply lower the cutter head on to the lacquer and cut one side. This is the lacquer – well the record is actually two lacquers – Side 1 and Side 2. Those lacquers are then dipped in to a large chemical bath, which is charged with electricity, called an electrolysis galvanic plating process. The lacquer is dipped into the bath and coated with silver, then with nickel, growing the “plate” on its surface. This plate is then separated from the lacquer and is called a “father” (The lacquer is rendered useless and destroyed). The father is plated again, producing a “mother”, which can be played and checked. The mother is then plated again to produce a “stamper”. This whole process is repeated for the second side, then the two stampers are finally loaded into the pressing machine for bulk manufacturing of the vinyl.
People sometimes shortcut the three step plating process simply by generating a plate straight from the lacquer and putting that into the press. This is most commonly known as DMM cutting (Direct Metal Mastering).
The father and mother plating process is deemed necessary to mass-produce a record into thousands. If you are only doing a 500 run, you can go for the single plating process where you simply grow the metal stamper straight on to lacquer and then bolt that metal stamper into the press and press from that. That saves a lot of money, as it saves time and cuts down on waste.
I’ve noticed some records are heavy and some are light, why is this?
It depends on what sort of press is used. There were three pressing plants in Australia – EMI, Festival and CBS, and they used various methods for pressing (the CBS press where I worked was steam-rammed). You can hold the pressings from different plants up and you can definitely tell the difference between where they were pressed, just by physically looking at them.
Was one better quality than the other?
No, just different. Absolutely just different. Different ways of pressing the same thing. the CBS records were thinner and more flexible. The EMI and Festival records were much heavier.
What about coloured vinyl?
Standard vinyl is pressed using black plastic and the coloured vinyl can be whatever the client orders. When CBS was pressing coloured vinyl, they would have to change the bag of vinyl (that was feeding to the presses) to a particular colour. It would take a few attempts to get the colour to run clean (eliminating any black residue).
I used to like sneaking into the pressing factory when they were doing this, because the first records that were pressed were useless due to the remnants of the black vinyl in there. So, the first twenty or so had streaks of black and you always ended with really cool designs in them. I souvenired a few of those in my time!
To book Steve Smart for your mastering project, click here or contact Lynley on 02 9698 5888 or mastering@studios301.com